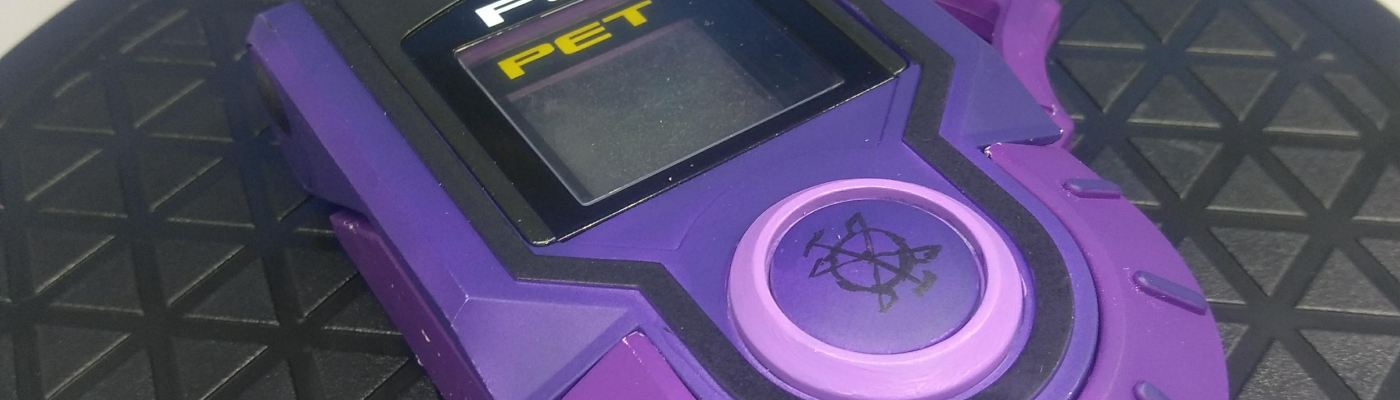
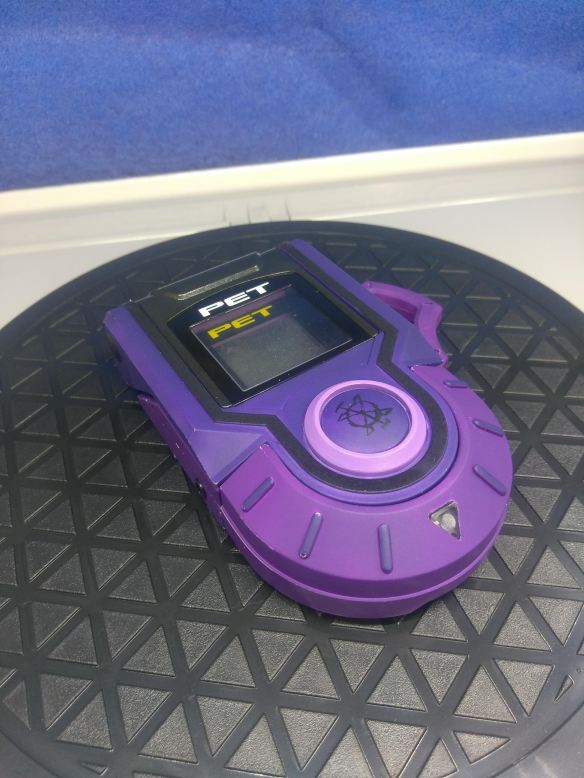
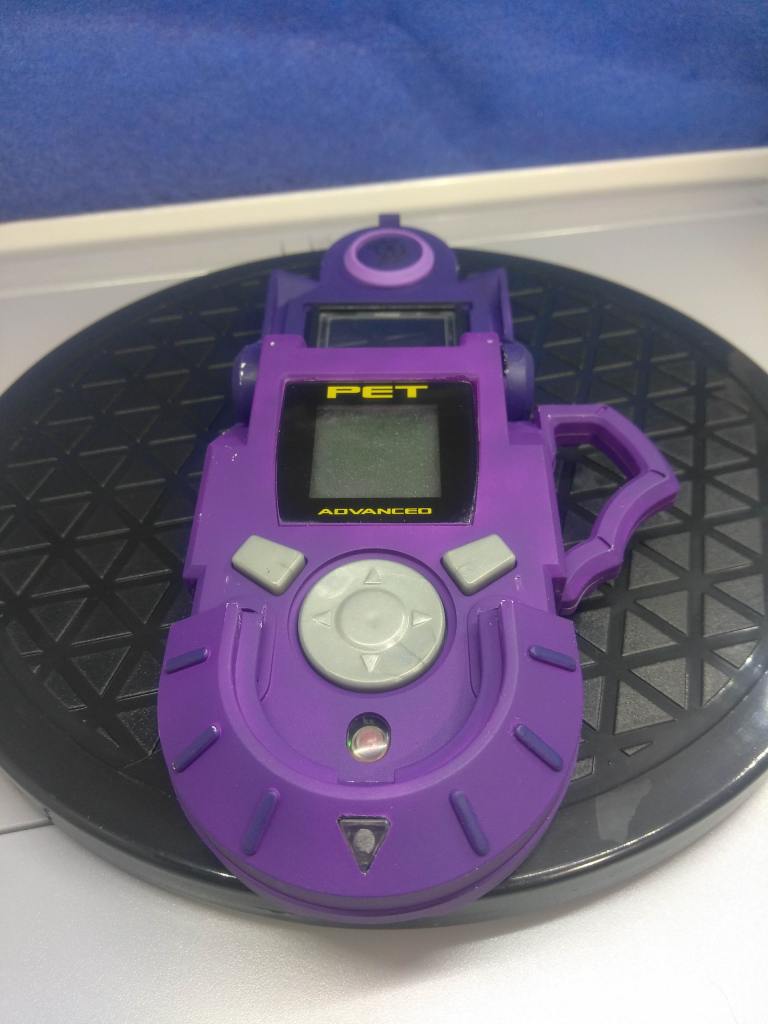
I recently completed a commissioned repaint of an Advanced PET toy, as you can see above. Unfortunately I don’t have terribly many progress photos but I’ll do my best to put together a coherent tutorial on my process as I’ve had requested a few times. Note as we go through these steps that this is my process, not necessarily the best and definitely not the only way to do a project like this. For details on exactly what tools and materials I use, please see the deep-dive breakdown of my kit here.
Once I got the piece from the commissioner, the first order of business was disassembly. I pulled the toy apart – as far as I could get it, at least – using a magnetized precision screwdriver and kept all of the bits together in the original packaging. I ran into a few problems during this process because of the construction of the piece. Specifically, the speaker wire and the hinge.
The hinge couldn’t be disconnected because of a connecting piece on either side that is snapped in place inside of the casing. Those pieces couldn’t be removed without physically breaking them, so the hinge had to stay put. As for the speaker wire, ten years ago removing and replacing that would have been trivial for me but unfortunately I’ve long since lost track of my soldering tools.
Once everything that could be taken apart was, the smaller parts went onto clip sticks and everything sensitive got covered in paper and masking tape to keep the mess from getting onto anything important – you’ll see this in the only early-progress picture I thought to take. Certain parts were set aside to keep them properly functional, specifically the clear portion of the front plate (PET lettering and inner bezel) and the battery cover.
The rest went into the spray booth for a coat of white polyurethane primer through my airbrush.
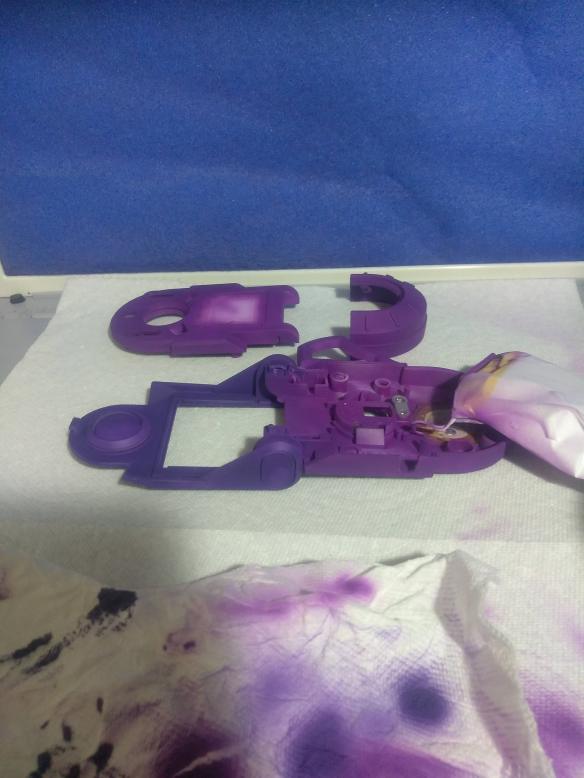
A few minutes after the primer dried up it was time to put on a coat of Warlord Purple over everything but the hinged cover, which got Hexed Lichen.
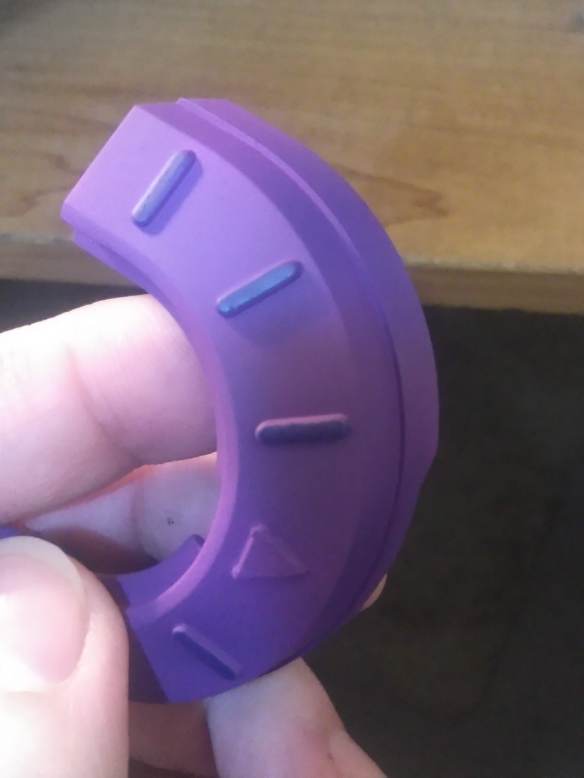
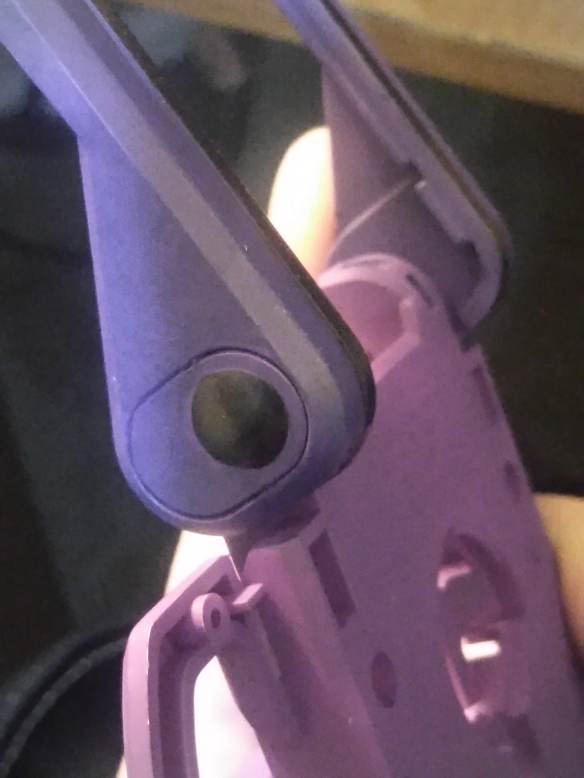
Certain spots got some brushpainted highlights, like the bottom clip with Hexed Lichen and the raised bezel around the flip-cover in Black. During this process certain sections needed to be painted over because of the intersection of two colors. The hinge being stuck in place meant that the airbrush couldn’t keep the colors apart – it’s essentially spraypaint with a tiny aperture, for those unfamiliar with the process – so those areas needed some touch-up.
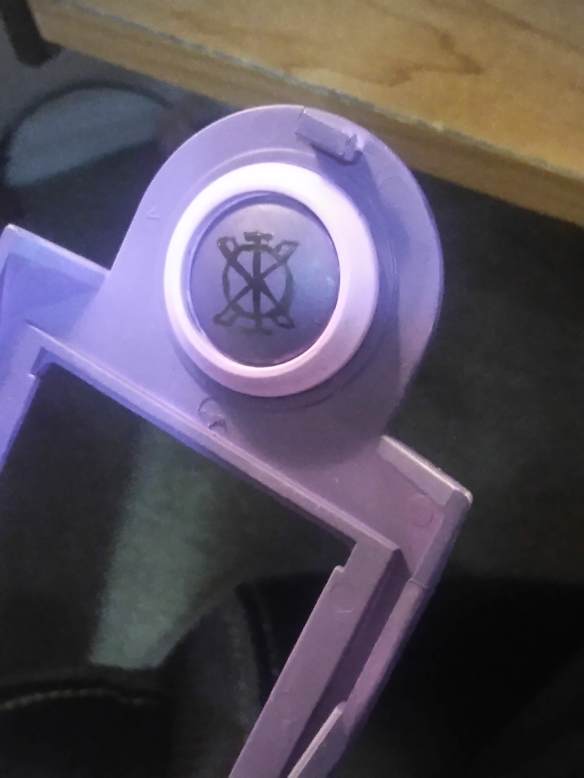
The Navi crest bezel got Warlord Purple mixed with Dead White, and the crest itself started with the same Hexed Lichen base as the rest of that part, so painting the symbol on only required some Black. Once that’s done, it’s time for a topcoat!
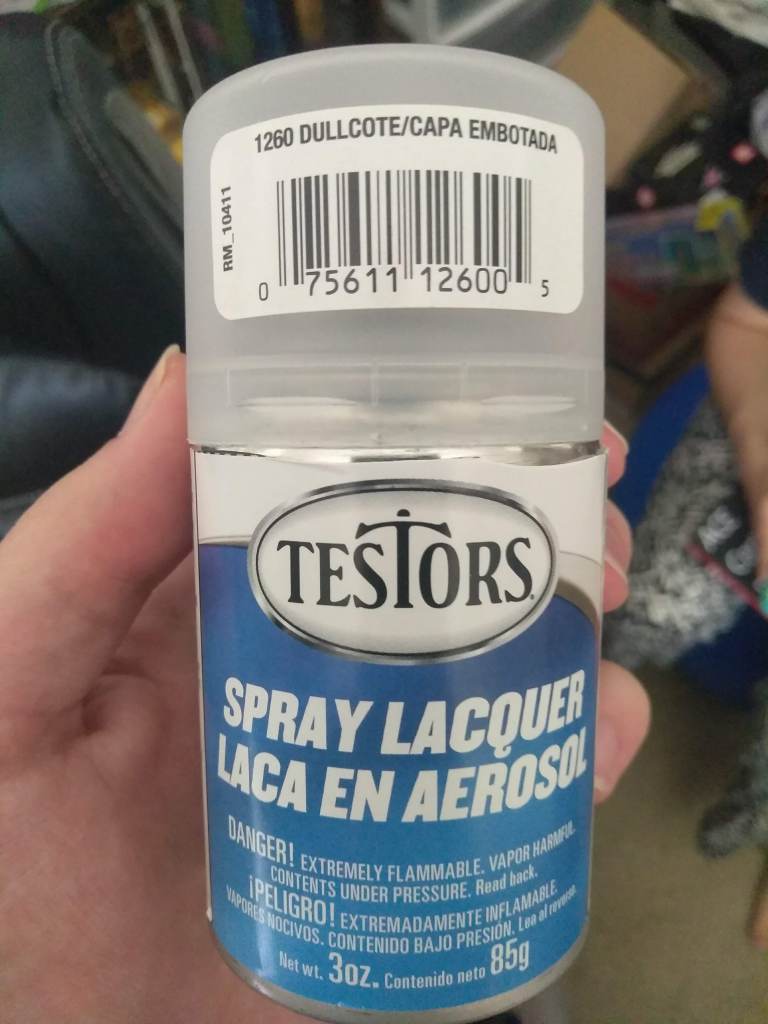
I prefer Testors Dullcote for most applications, particularly miniatures. The main downsides are that it’s relatively expensive and runs out quickly, and that it’s aerosolized, which requires spraying outside or at least in a very ventilated space. Other than that, there’s really nothing not to love about this stuff. It dries to the touch after around an hour and cures fully in no longer than a day. Do keep it out of the rain, though; I’ve sadly made that mistake more than once.
After it all dried up, the only thing left to do was get the PET back together. This required a couple of attempts because I didn’t reseat the LCD properly on the first try, and I’m ashamed to admit that I broke one of the speaker wires in a way that my lack of tools couldn’t fix, rendering it semipermanently muted (given the noises this toy makes I honestly think that might be a good thing though?). But in the end it all went back together at least as well as it needed to.
With that I’ll be done for now, but in the future I do plan on posting more content here, including tutorials and information, gunpla, food, art, miniatures, and maybe also pictures of my spouse’s goofy dog. Look forward to it!
 cogthecat's crafts
