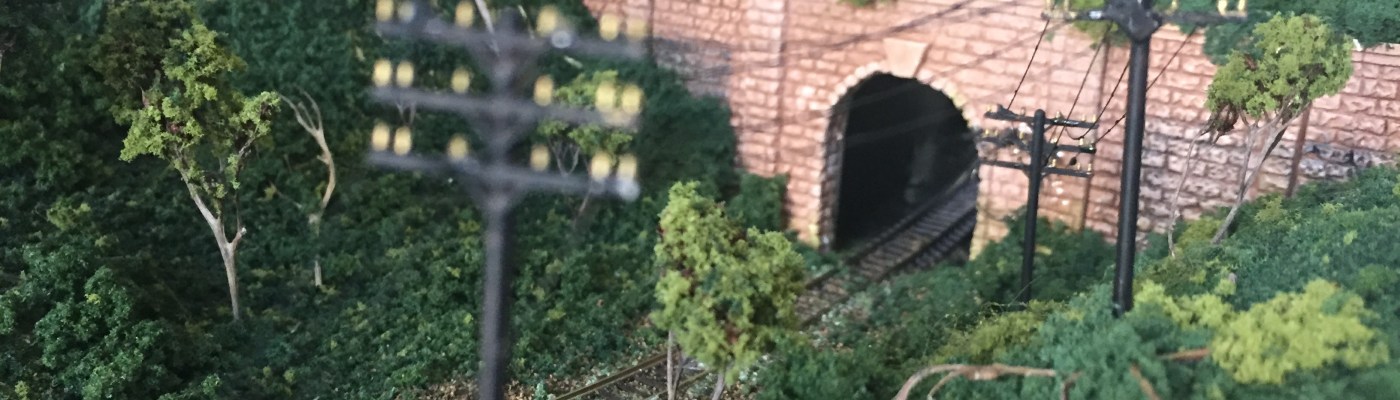
In the murky and distant past of 2013, my spouse went to Thailand on a (partially) college-sponsored trip. Knowing that I’m, well, me, they brought back as many photos of railroads as possible, which I of course found delightful. A few years passed and an idea percolated at the back of my mind: what if I were to build a piece of it?
So, I started Googling up assorted reference images until I settled on a particularly stunning scene. My understanding is that this is a photo of one end of the Chong Khao Tunnel on the Southern Line of the Thai national railroad, but I don’t know for sure since I neither read/speak the language nor have any real experience with that country outside of their more Americanized culinary exports.
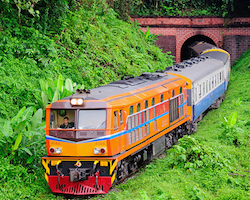
After squinting at my screen for a week or two to try and squeeze any and every detail I could out of that tiny image, I built a simple mockup in SCARM to build my initial terrain from, and off I went.
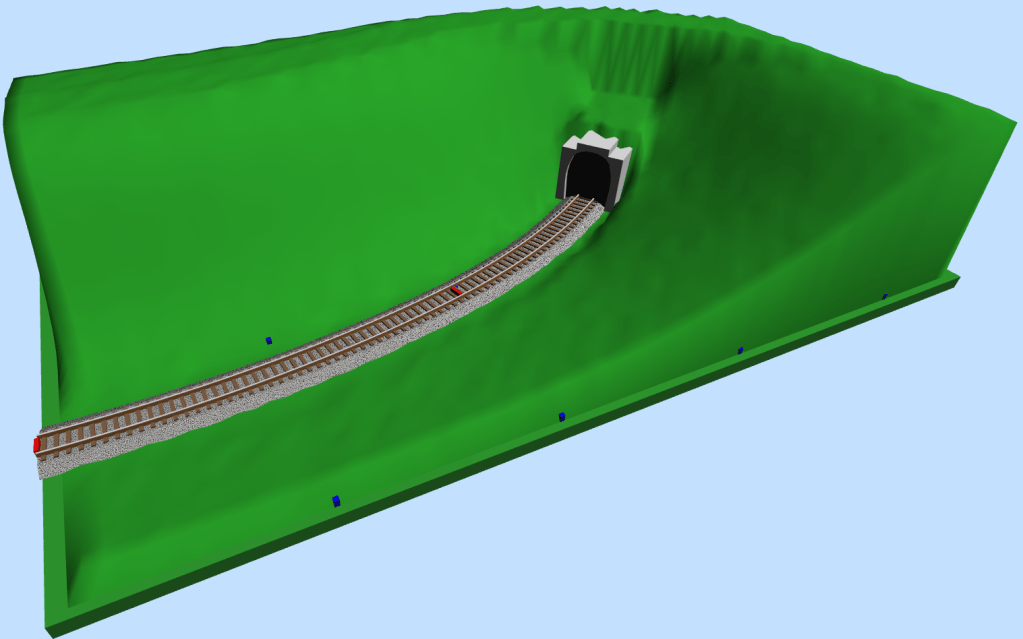
The first thing to do was get a cardboard filing box lid and some spare board ready, and decide on a profile curve for the terrain. To get the exact curve figured out, I used the Woodland Scenics Shaper Sheet that would become the actual terrain; after bending it into the shape I wanted, I drew out the edges onto the cardboard chunks intended for the outside walls of the diorama, then cut along those lines. A bit of tape, glue, and black paint later the basic shape of the piece was set out.
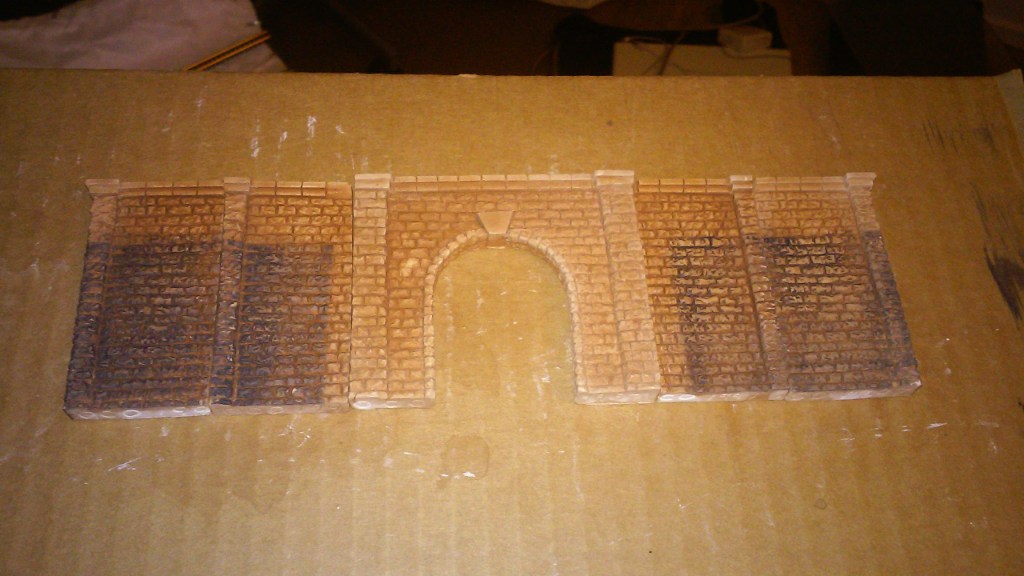
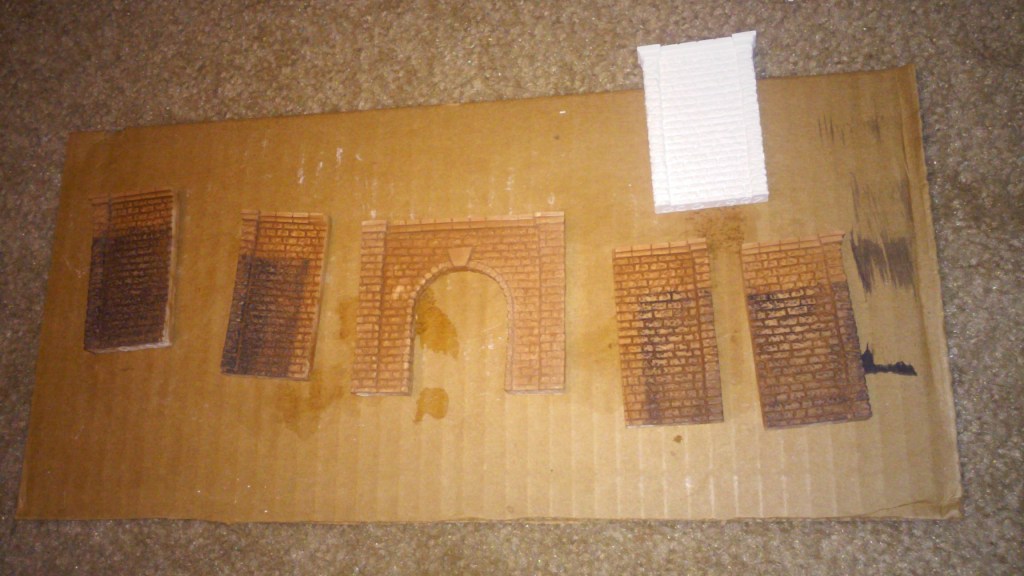
I picked up a brick tunnel portal and matching retaining walls and applied some pigment to it to match the odd black bricks in the photo, and glued it into place between parts of the Shaper Sheet. From there, some Shaper Sheet Plaster followed by a coat of Green Undercoat went on to solidify and color the terrain’s underlying shape.
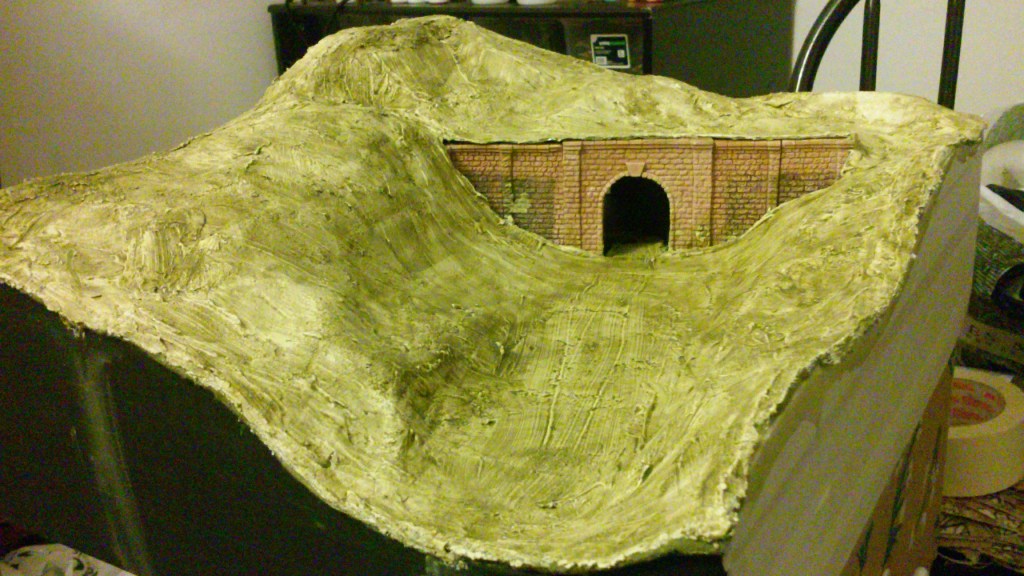
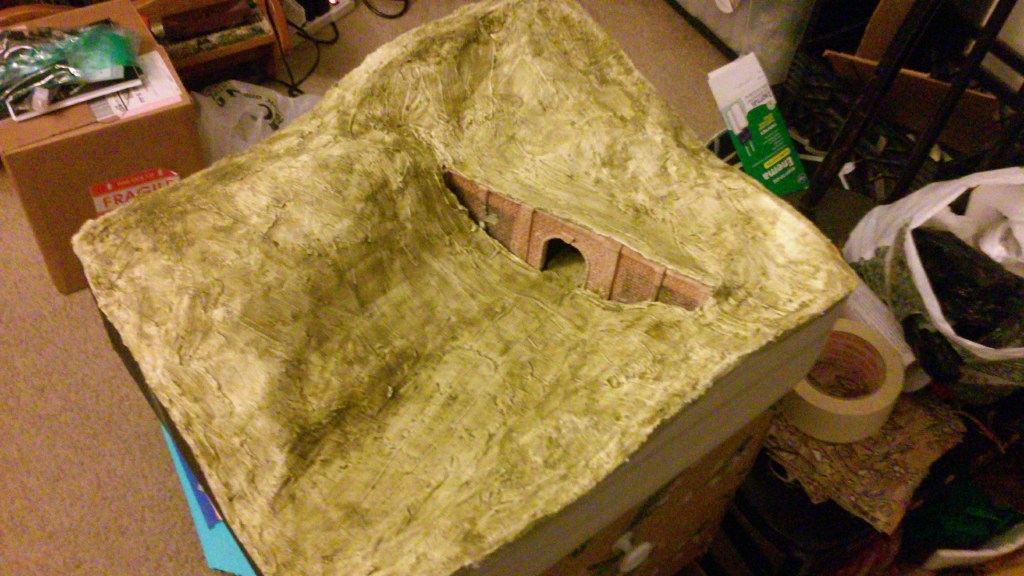
The next step was simple but gave me an annoying amount of trouble. I put down some foam roadbed and a piece of Atlas Code 55 flextrack, plus a bit of fine brown ballast mixed with fine green grass turf. It all seemed fine for a bit, but the glue in the ballast drying actually pulled the track away from the uneven surface below. I tried several times to fix it, but even in the finished product there’s still some visible superglue between the ties – ew.
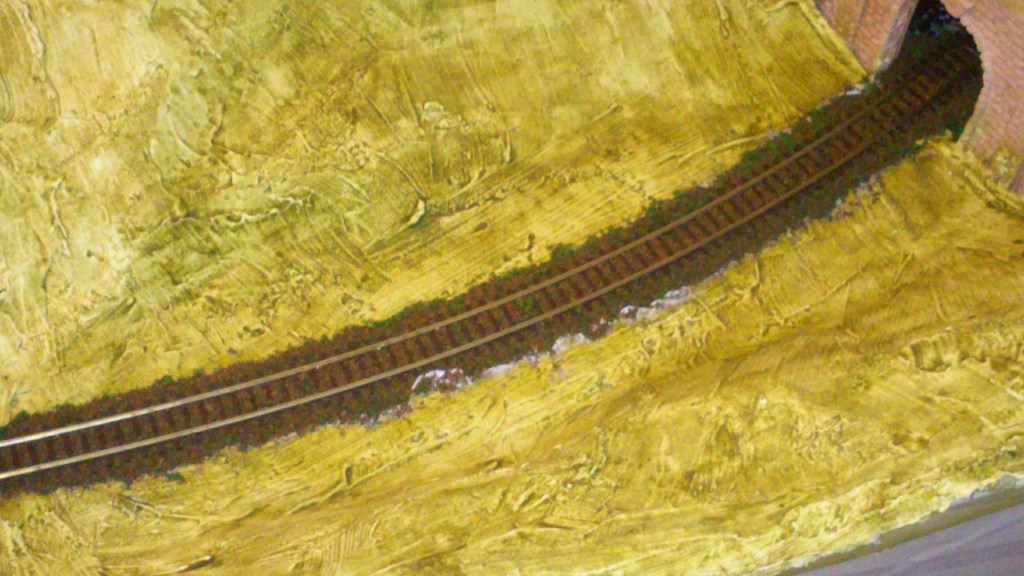
Once that was down it was a short matter of getting the turf materials glued down before it started looking properly green and lush. Plenty of undergrowth, some thick bushes and moss, and overall a huge improvement from the last stage.
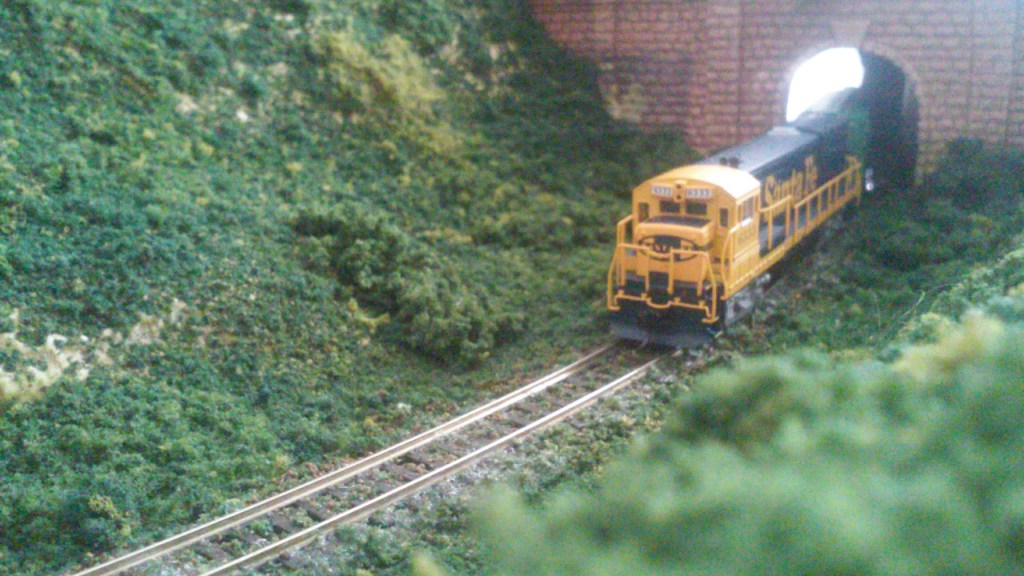
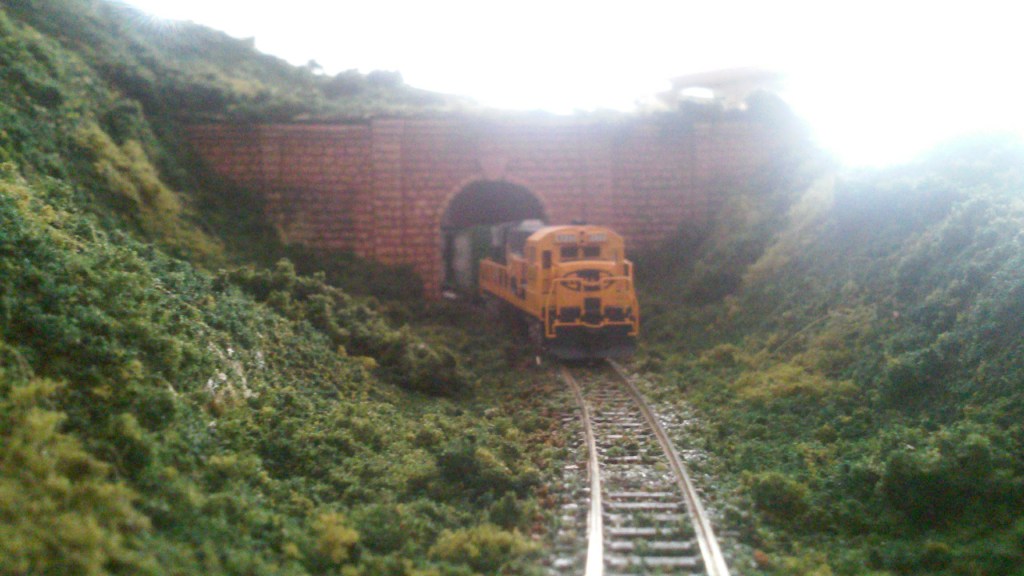
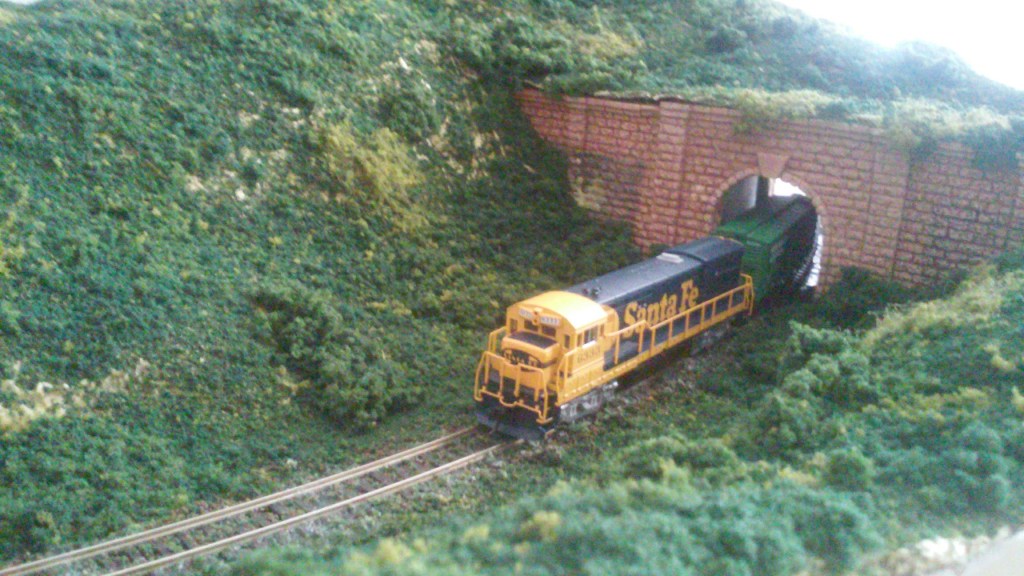
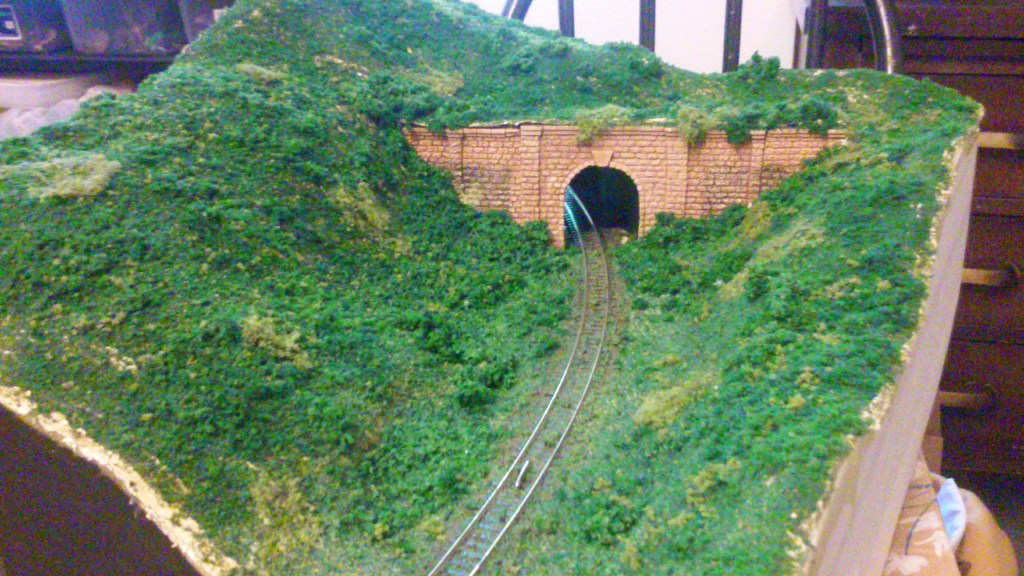
Then it was time to make the trees. I picked up a canopy kit made from natural fibers (mostly twigs, actually) and got to breaking apart the bits and gluing flock onto them. My experience with this kit wasn’t bad, but I was a bit disappointed by how fragile the finished trees are. The foliage tends to flake off when touched, and because they’re so small it’s very easy to break pieces off even after everything is set in place. Provided they don’t get poked at, though, they do come out looking quite nice.
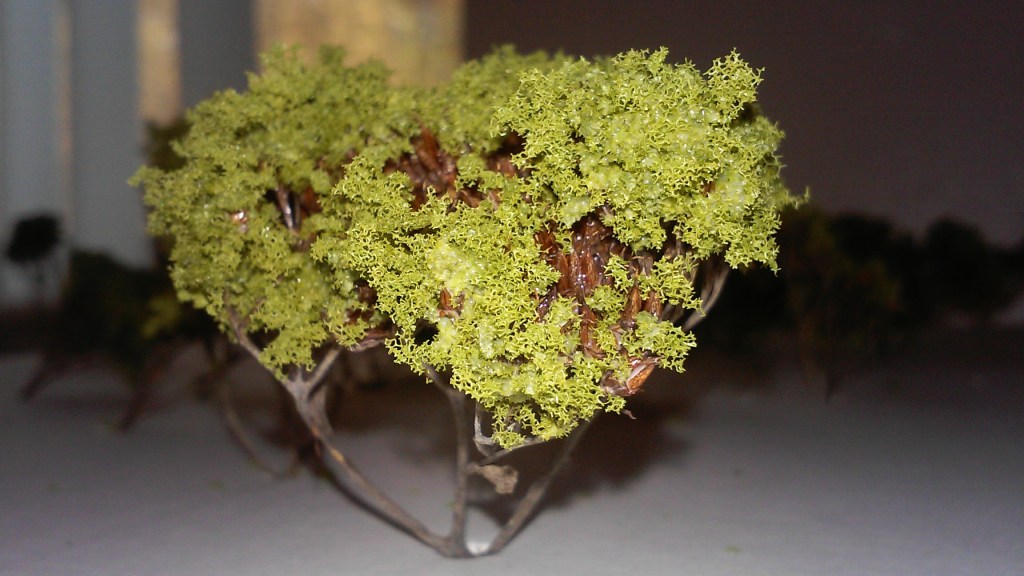
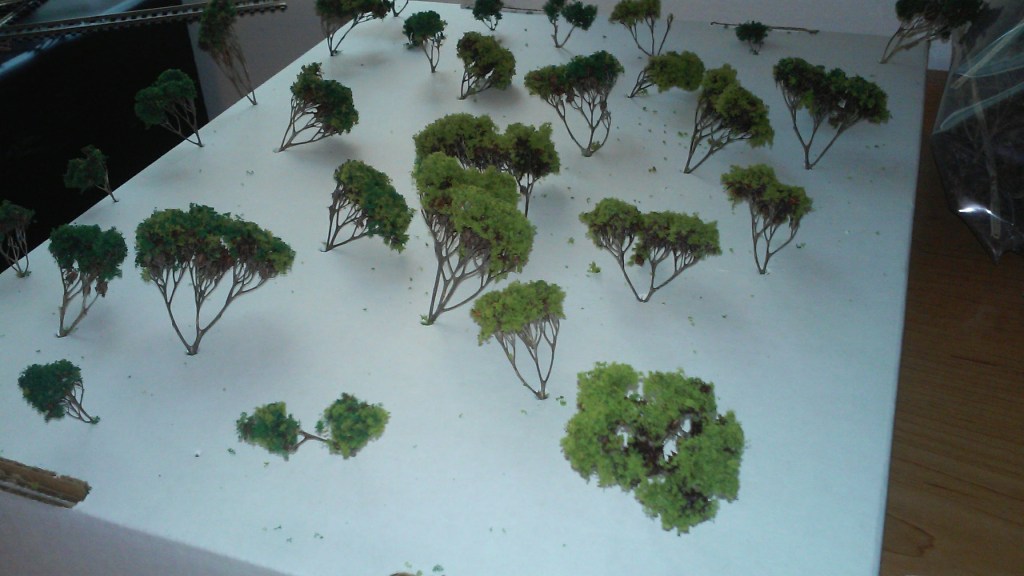
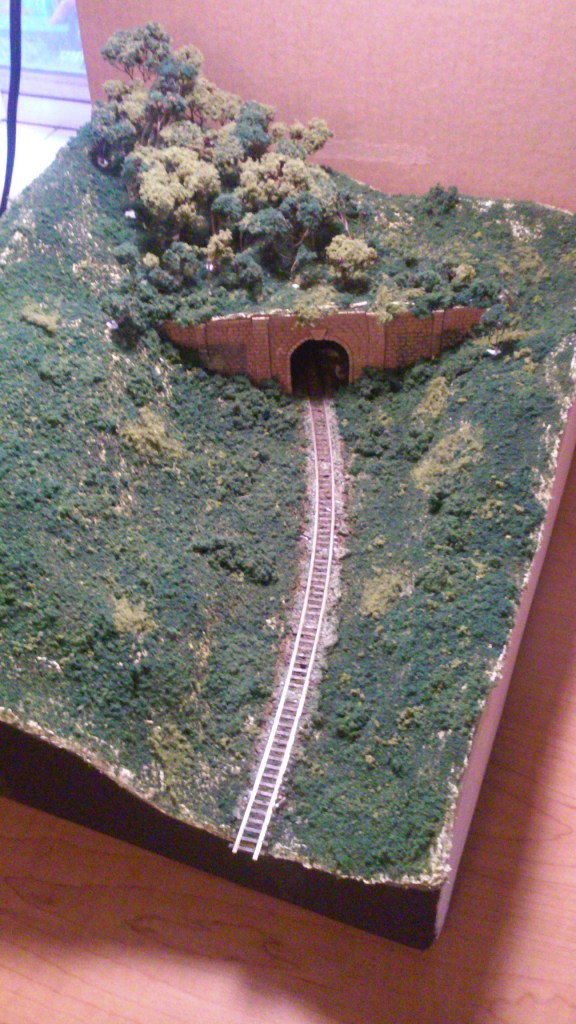
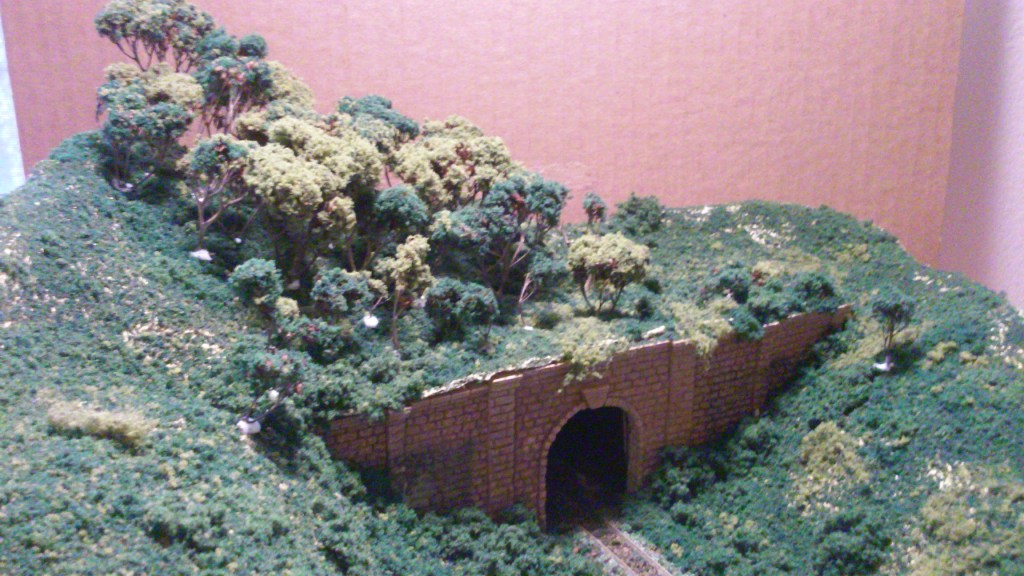
It took a very long time to get all of the trees made since these were, again, literally tiny twigs with sponge stuck to them. Affixing them to the model required drilling or using a nail to pierce through the plaster, which itself introduced a few problems around the seams between the two sections of Shaper Sheet I used, but eventually the jungle properly grew in.
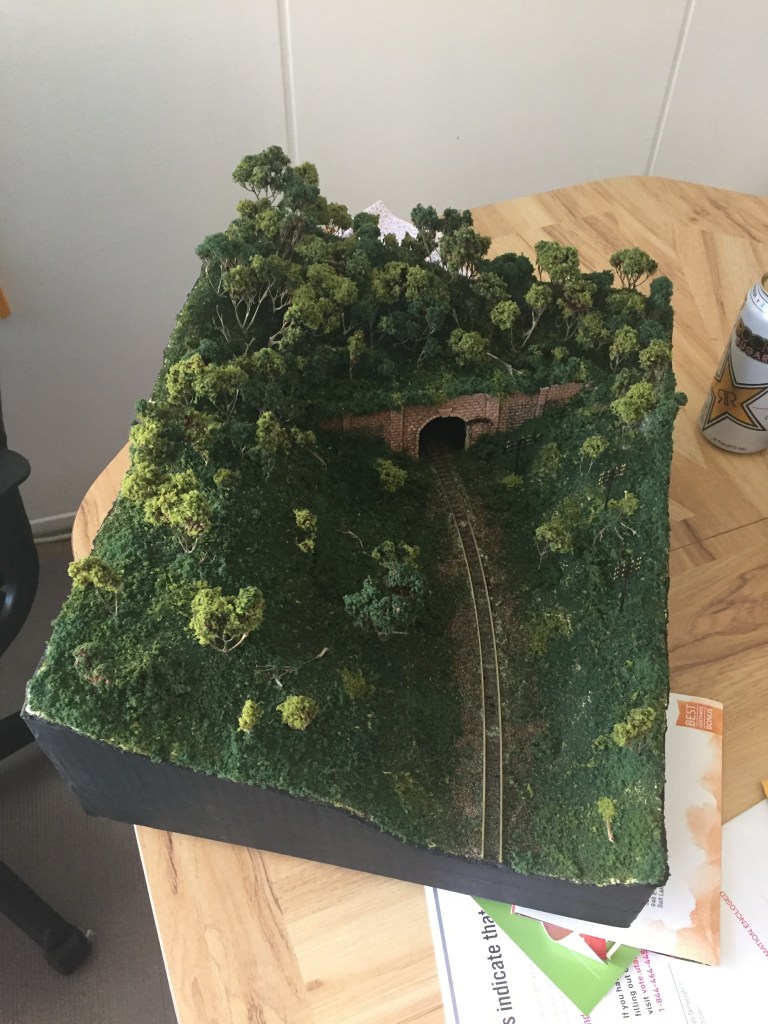
Some deadfall went in to simulate fallen trees and branches, and some of the smaller tree pieces got glued in on their sides as recently-fallen plants. …Then things got unreasonable. The original photograph shows, if you look closely enough, a spool of cabling next to the tunnel portal, with wires leading out of frame. My decision – which I must stress seemed like a good idea at the time – was to handle that by placing a few telephone poles beside the track and string fine wire between them.
I grabbed up a pack of Bachmann’s N scale telephone poles and repainted them to look more similar to the ones shown in other Thai reference photos, and put some sections of fine brass wire (I don’t recall what exact product I purchased as this was several years ago, but it was something to this effect) on order. Once they arrived, I had to not only string them along the poles after gluing them in place, but also paint them black because they were bright shiny yellow out of the package. This was not as good an idea as I initially thought, because while the finished product does look great, most people that look at it don’t actually realize the wires are even there unless they put a contrasting color behind them – at which point they suddenly become visible despite their tiny size.
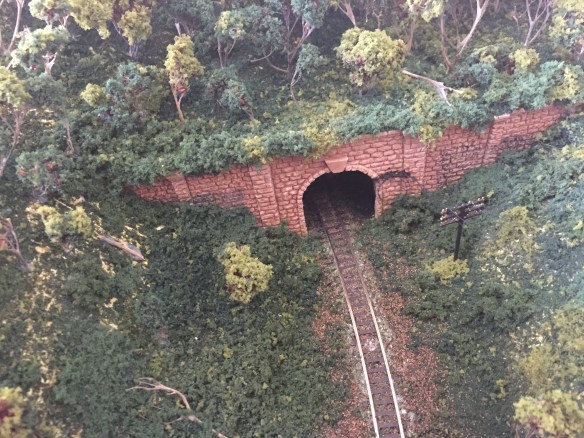
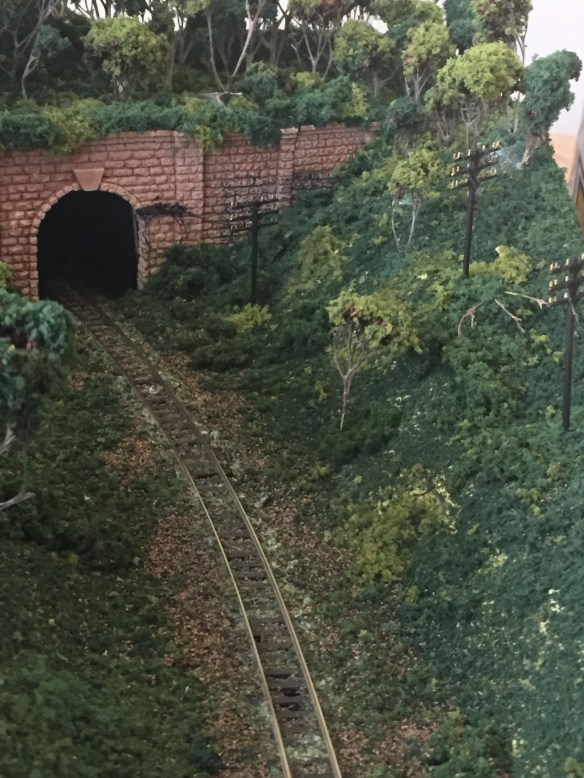
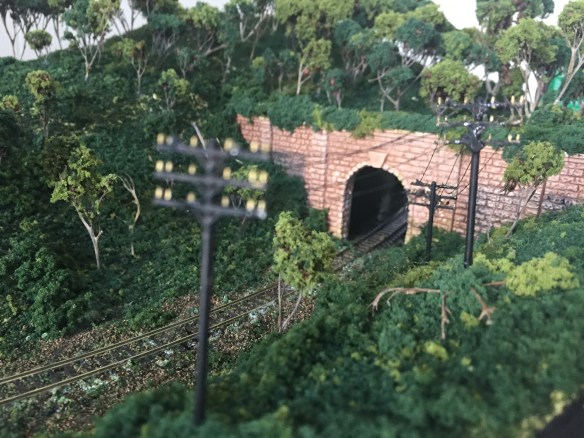
All in all, I’m proud of how this turned out. I made the expected mistakes of a newbie and had plenty of confusion and frustration along the way with specific parts, but overcoming those problems as well as the thrill of actually assembling a scene like this from the ground up – and having it look pretty good by the end! – was really enjoyable. The colors are obviously a bit muted compared to the original photograph because quite frankly the real thing looks too bright to be realistic, which was an odd realization as I was building. I wouldn’t do this project again, but I’d absolutely assemble another diorama with a similar concept in the future, if the opportunity arises.
Since finishing the display, it’s been living at my mom’s house and most recently found a home right inside the front door, so everyone that goes in or out gets a look at it. It’s quite a place of honor, and I’m proud to have earned it.
I don’t believe it’s pictured anywhere (at least not visibly enough that even I could spot it), but I took a note from the spectacular Colorado Model Railroad Museum and sneaked a tiny plastic dinosaur that I won during my visit there – they run regular scavenger hunts to find little easter eggs scattered throughout their huge model – shortly before starting this project under part of the tree canopy. If you ever get a chance to visit the CMRM and have even the vaguest passing interest in model-making or trains or cool toys, do yourself a favor and stop in. It’s truly amazing to stand in the middle of their layout and just take in all of the scenery and modeling and action going on around you.
 cogthecat's crafts
[…] But before all of the dismantling I had a bit of advance notice. Growing up, my grandparents had a shelf in their bedroom with a bit of track laid across it on which Rodney kept a model of the John Bull and DeWitt Clinton locomotives. Ahead of the move-out I got that shelf off the wall and gathered up the supplies Rodney had bought for his layout and never actually used, plus some of the materials I got for my own project. […]
LikeLike