A couple of months ago, I was wandering around a local Barnes & Noble and discovered that a significant part of their stock and floor space had changed since the last time I’d stopped in. I admit it had been a while, but seriously what happened at Barnes & Noble headquarters???
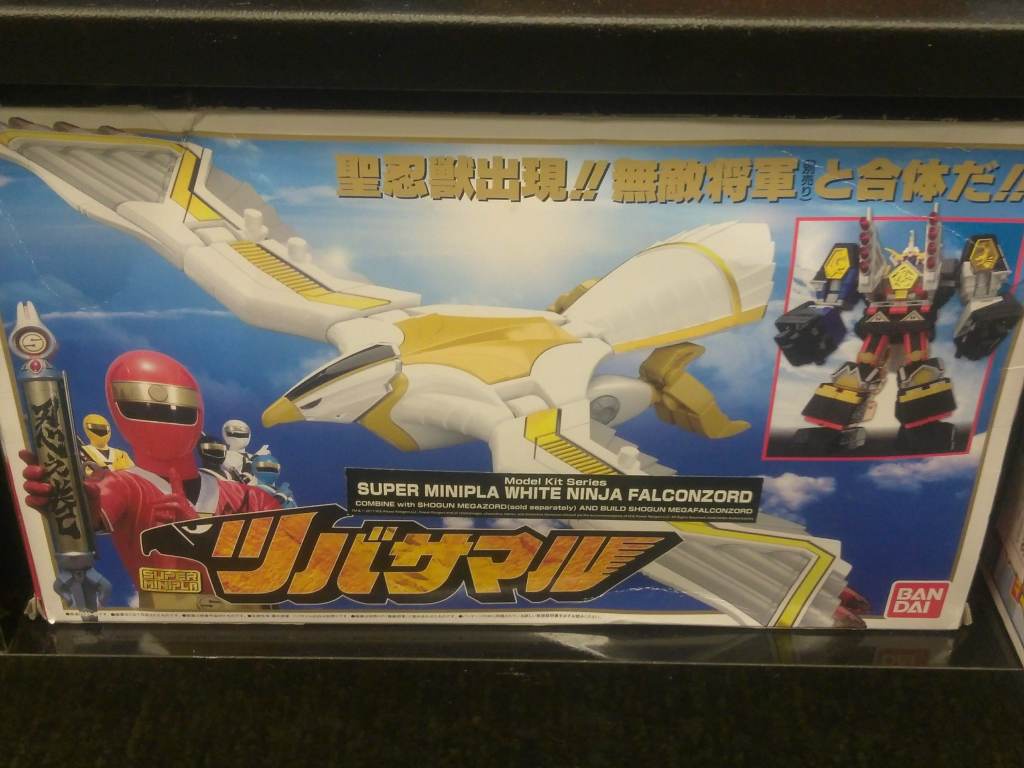
They’ve apparently rebranded as… I don’t know how to explain it other than as a weeb shop. All of a sudden I care about Barnes & Noble again for the first time in years. There was everything from a four-aisle board game section to a wide set of freestanding shelves covered in anime vinyl figures and Gundam kits to Warhammer 40K Space Marines to Kakuranger toys from 1996 or so and even now, literal months later, I’m still just so confused.
Meanwhile, a few years back I was doing a tune-up on a tablet PC belonging to a family friend and when I unlocked it what did I find but a photo taken in front of the Gundam statue in Tokyo (I think it was back when it was an RX-93-V2 instead of the Unicorn Gundam it is now)! That family friend is also a professional sushi chef working at the best Japanese restaurant I’ve been able to find around here, and after a brief surprise encounter with him an idea started percolating.
At Barnes & Noble, with two weeks left until my spouse, siblings, and cousins were planning to meet up at that very same restaurant, I grabbed the most appealing-looking model kit on the shelf (that had the cheaper kits on it) and headed home to start building. With the day off it only took about five hours to put the High Grade PFF-X7/E3 Earthree Gundam together and made for a legitimately lovely evening. Or I suppose it would be more accurate to say that it was a PFF-X7 Core Gundam with the Earthree Armor bolted on, but whatever. The point is I liked building it.
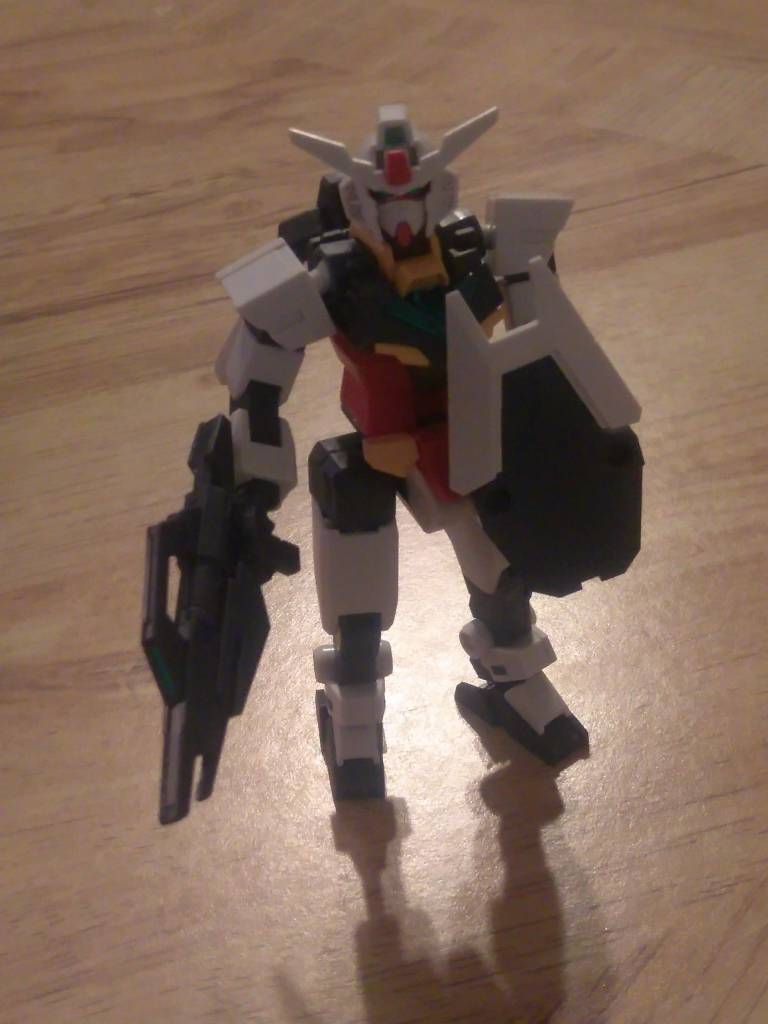
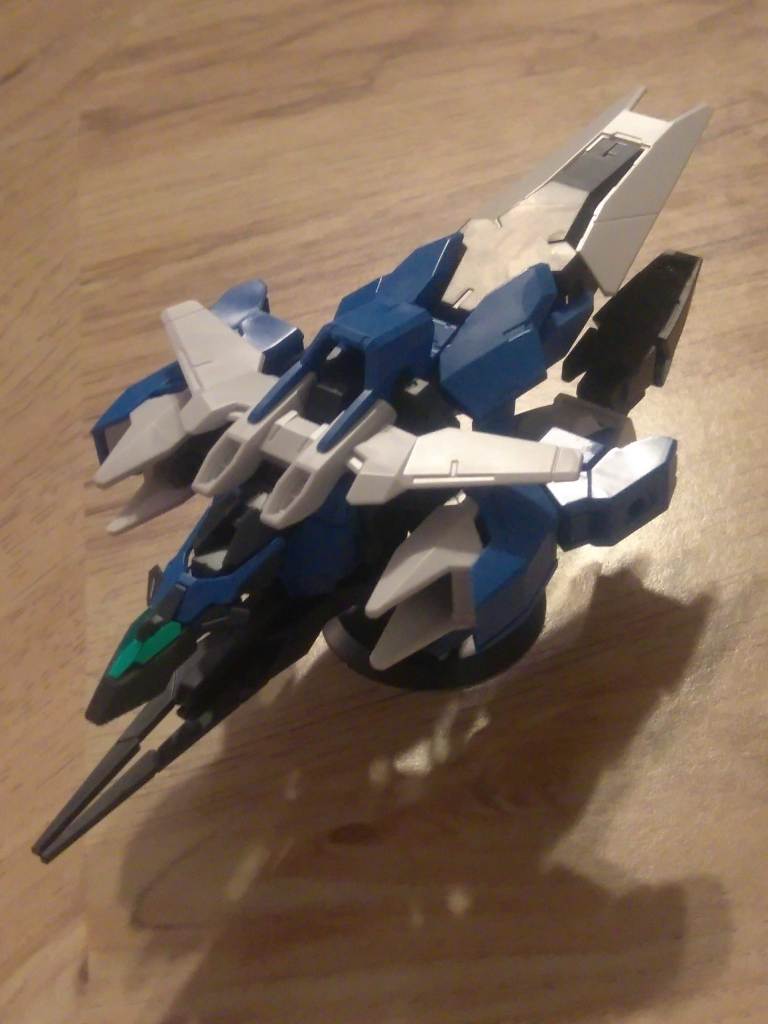
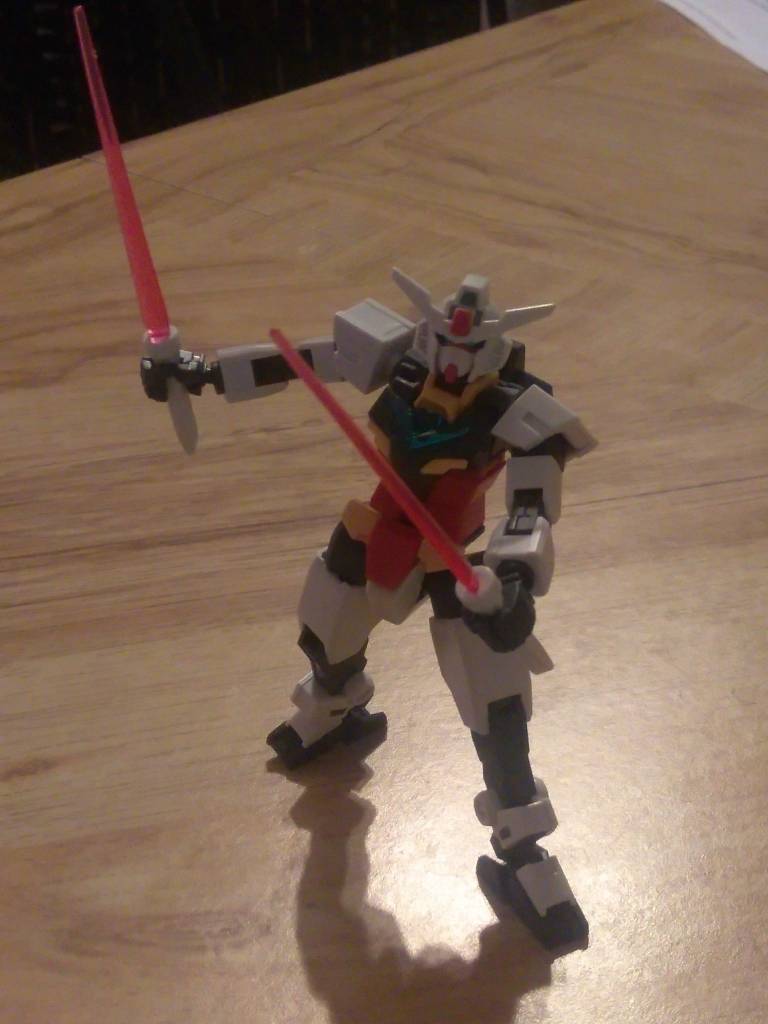
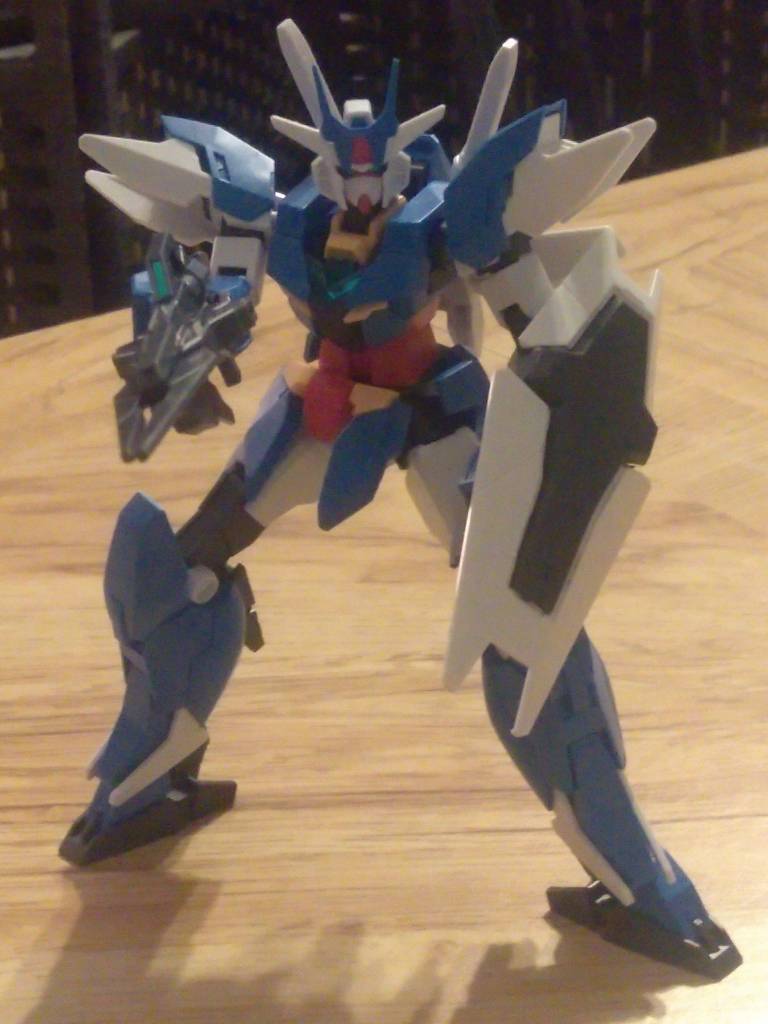
During assembly I was repeatedly and consistently surprised at the quality of the parts and the amount of thought that went into their construction. Even things that shouldn’t have mattered like the orientation of gates on the sprue that couldn’t possibly been seen on the final build were thoughtfully planned out in detail. Since then I’ve learned that that’s more or less standard on any current gunpla kit, but this being my first impressed me quite a bit.
It was at this point that I picked up my current airbrush, as seen on the Deep Dive page, along with a good deal of the related kit I’m currently using – but not all. My first outing with the new airbrush went brilliantly, starting with white primer and Ultramarine Blue, which left a varying-density coat that gave me some nice smooth shading.
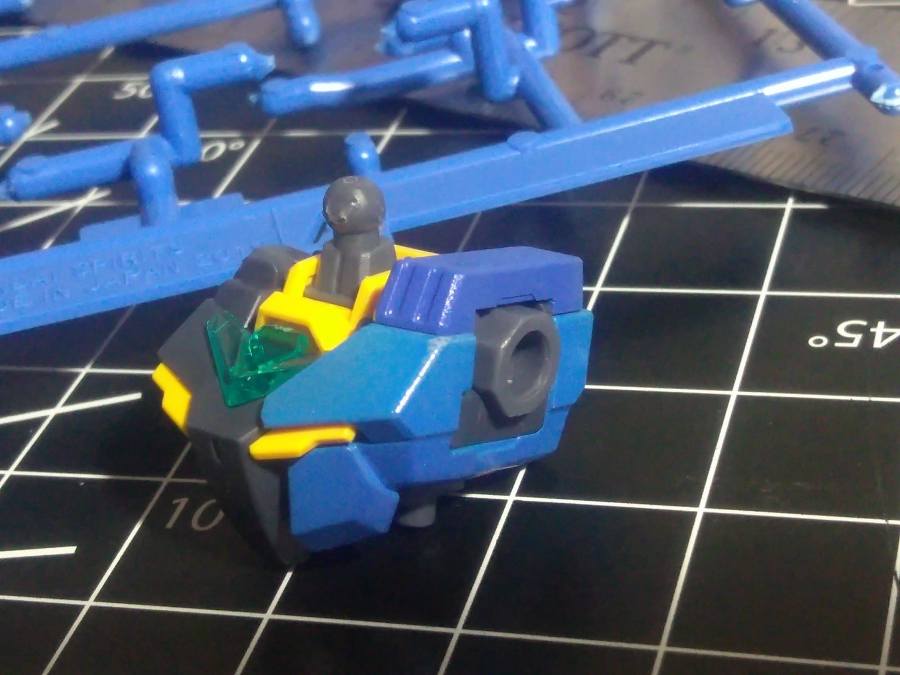
And that brings us to our first Do Say Say Do.

DO SAY SAY DO ALERT!
Do as I say not as I do! You are about to read about me doing something dumb, making an obvious mistake, being lazy, or otherwise doing something you shouldn’t!
After applying a topcoat that was frankly way too thick (70.510 Gloss Varnish diluted 1:1 with glaze thinning medium, which absolutely did not make it airbrush-ready) I tossed on the best masking tape I had at hand, which was an off-brand grocery store masking tape and was the actual worst. I trimmed it down using a craft knife on my small self-healing mat, then stuck it all over the blue parts to make room for white details. The theory was sound, but the execution left something to be desired when the masking tape edges peeled up.
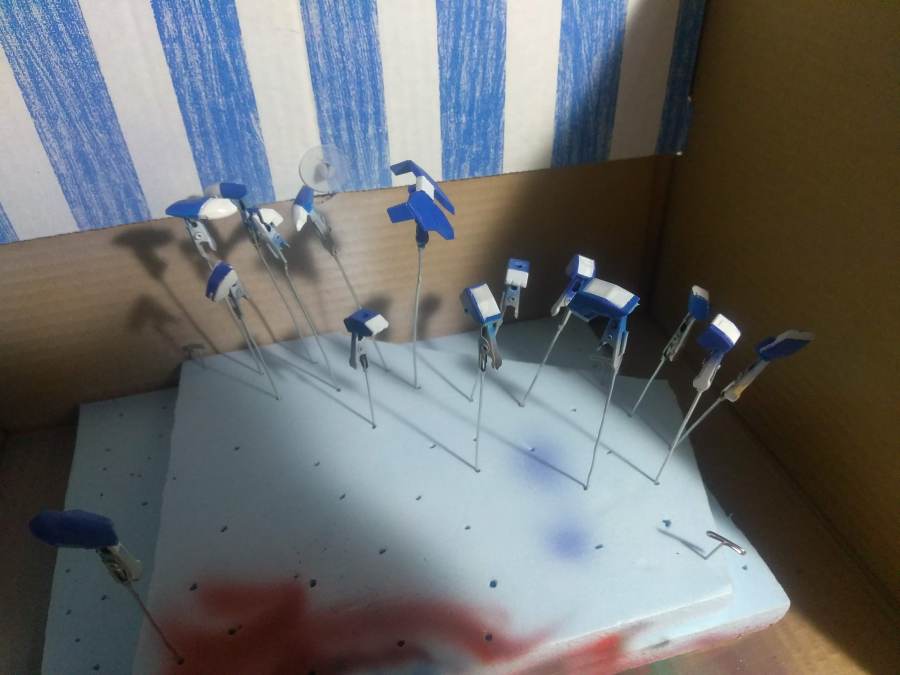
After that white coat (speckled overspray and all) was sealed over, it was time to do some panel lining. Because at the time I didn’t have proper enamel washes or Gundam markers to do it with, I used Vallejo 73.201 Black Wash and wiped away the excess with my fingers. Not a great solution, but it worked well enough.
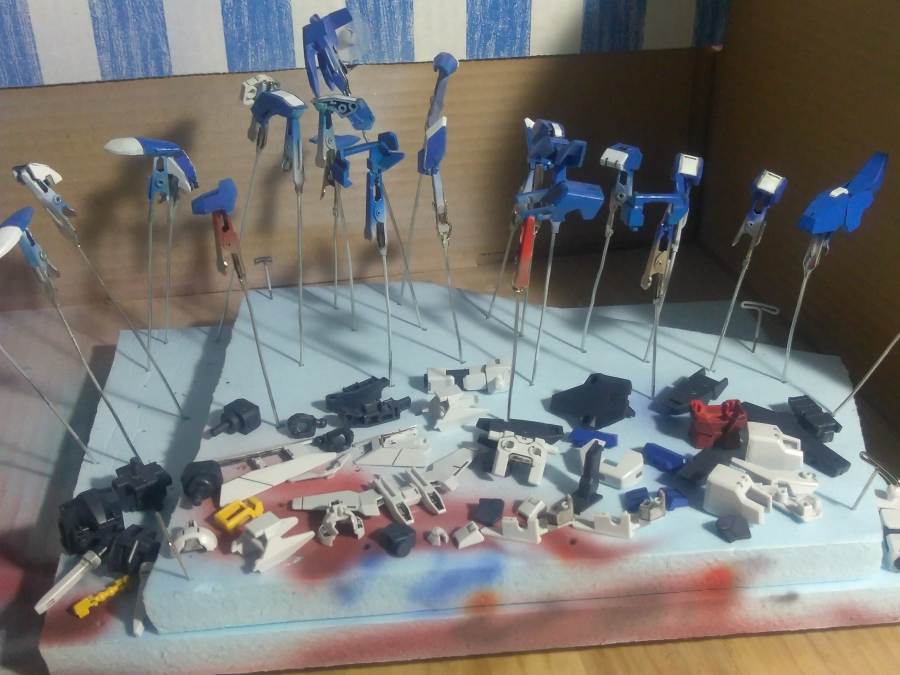
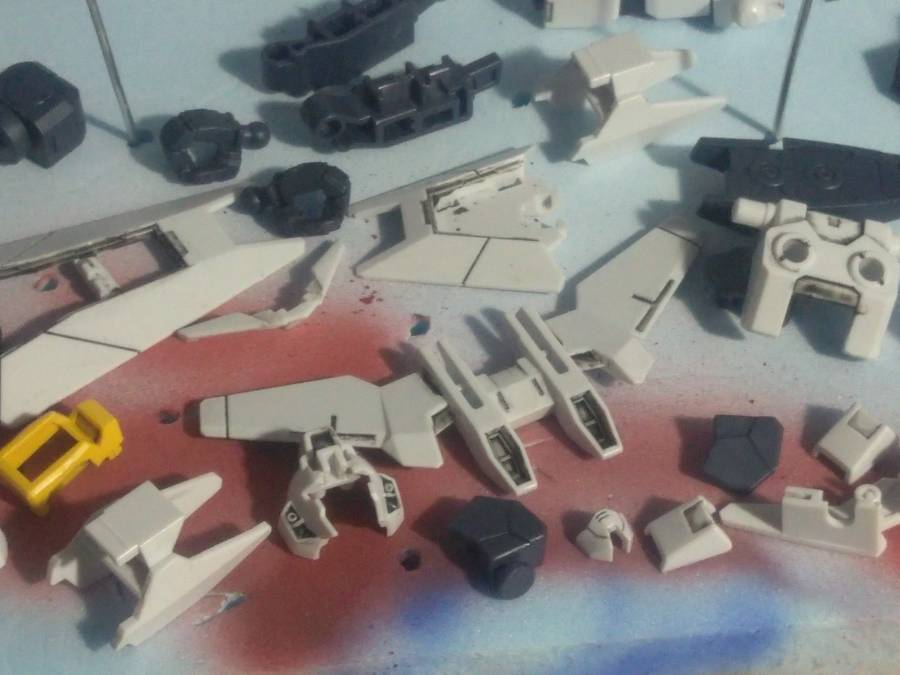
As I mentioned up top, I had a two-week period to complete this project from scratch before I needed to hand off the finished model, and I was running out of time. The original plan was to paint everything down to the polycaps, but I only had time to panel line most of it and throw the result together after a coat of Testors Dullcote. Because of the thick topcoat on the glossy armor parts, the tolerances were far tighter than they should have been and some paint stripped away from the pins and edges, but overall it was tolerable and the defects were decently hidden.
The next-to-last thing was light weathering – a drybrushed coat of Silver on pretty much everything to give the edges an appearance of metal shearing. Unfortunately this was done very hastily, and this scale isn’t the greatest place to apply that technique, but it wasn’t bad – just not great. Finally, I put on the final coat of Dullcote to protect everything, and that’s where another problem reared its head.
Because of my limited time, I got careless and cut my timing too close to my work shift. I had to leave before the Dullcote was fully dried and ready to be brought inside, and this being late December of this wet but mild winter the whole batch got caught in the rain and cold. Fortunately the kit was meant to be weathered anyway; I just didn’t mean it quite so literally. The scale is dissonant between the water spotting and the kit’s intended size, which is unfortunate, but it isn’t too terrible given how badly it could very easily have gone.
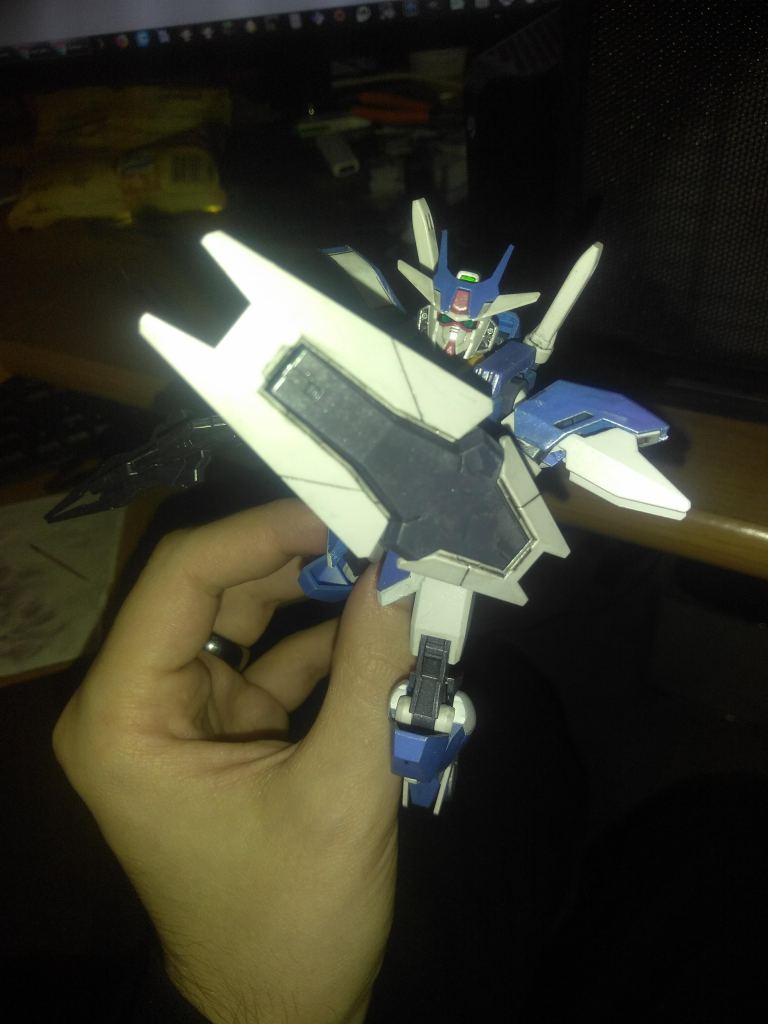
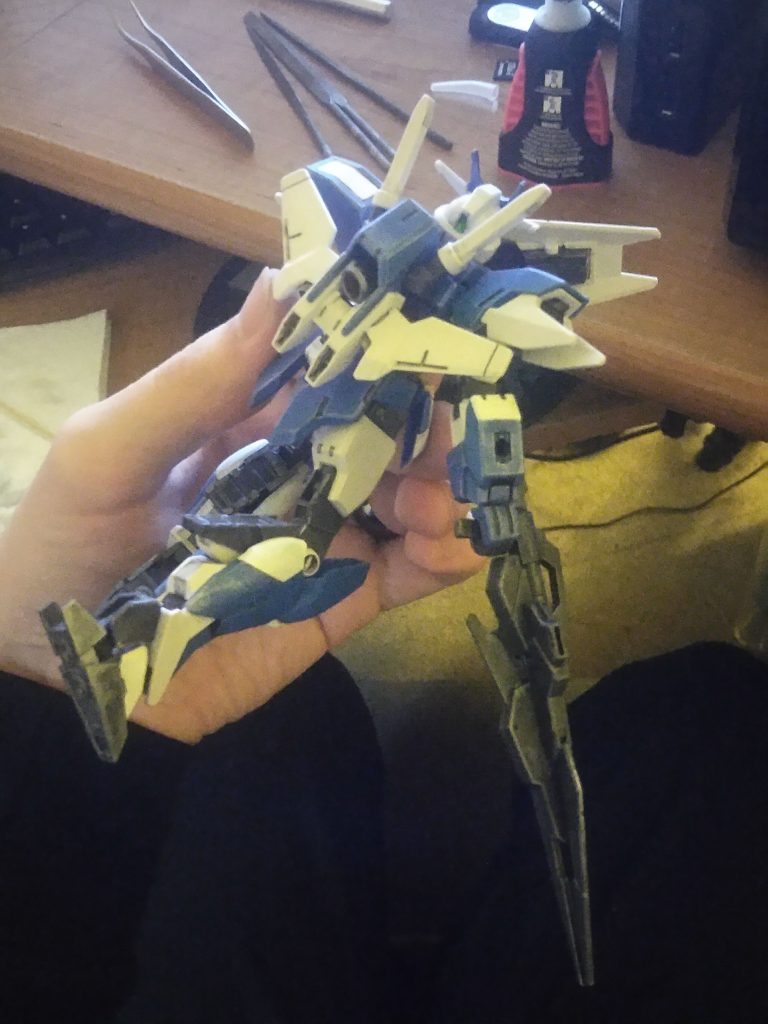
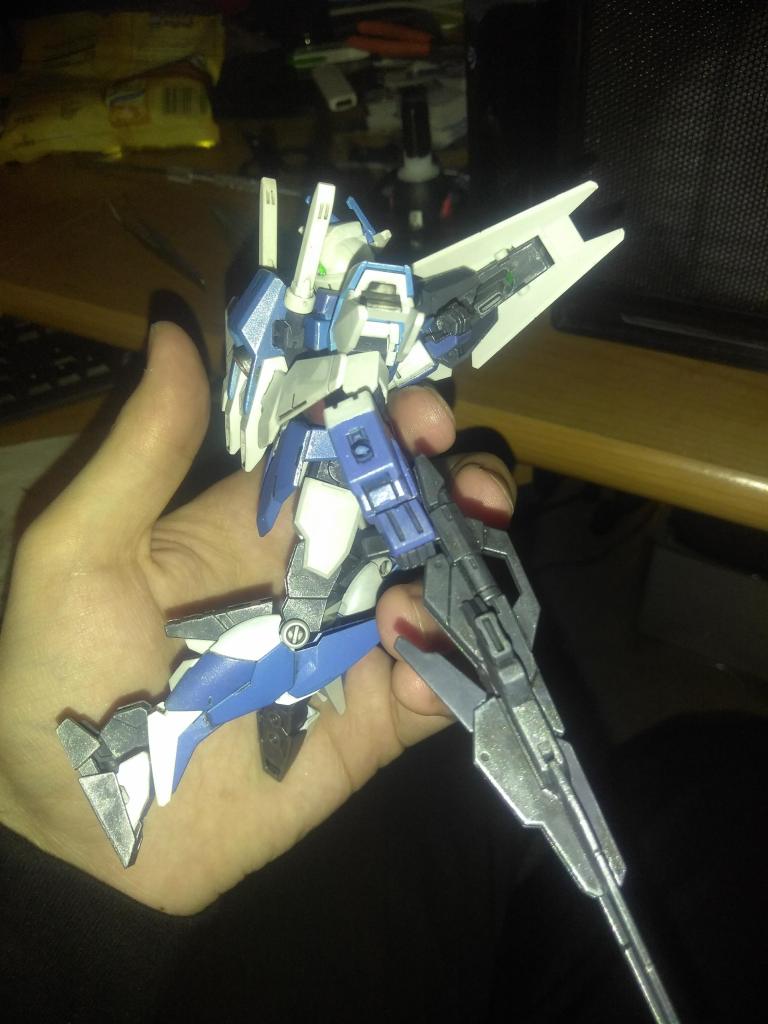
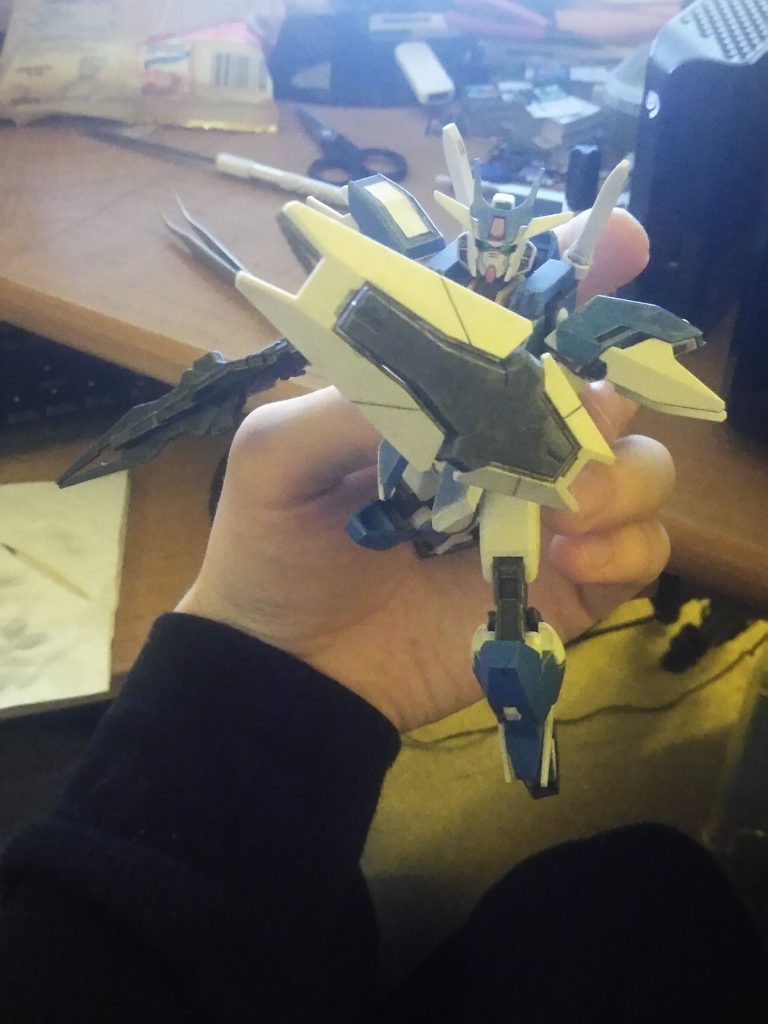
By this point I’d put about 40-50 hours into this project in total, not counting most of the time I spent toying around with the parts just to get used to handling them. When I handed off the finished kit I was gratified to see my friend’s face light up with delight, and then to light up again when he realized I wasn’t kidding when I told him I’d build him a Gundam and he’d get to take it home. About 45 minutes later our table got some off-the-menu gourmet Japanese food on the house, which was in my opinion a superb trade – but the real prize was seeing that look on his face.
 cogthecat's crafts